Got any tips for aspiring wildlife photographers?
So many. A few that come to mind:
– Consider the risk versus reward. Find a way to best anticipate animal behavior, either through your own observation or intuition, or lean on the expertise of your guide! Once you’ve nailed the “document shot” (aka, proof you saw the animal), start playing with creative options. You might miss a few safe shots, but you’ll come home with a few really unique shots and perspectives. This will also help you improve your photography over time because you’ll learn to look for opportunities instead of just reactively shoot what is in front of you.
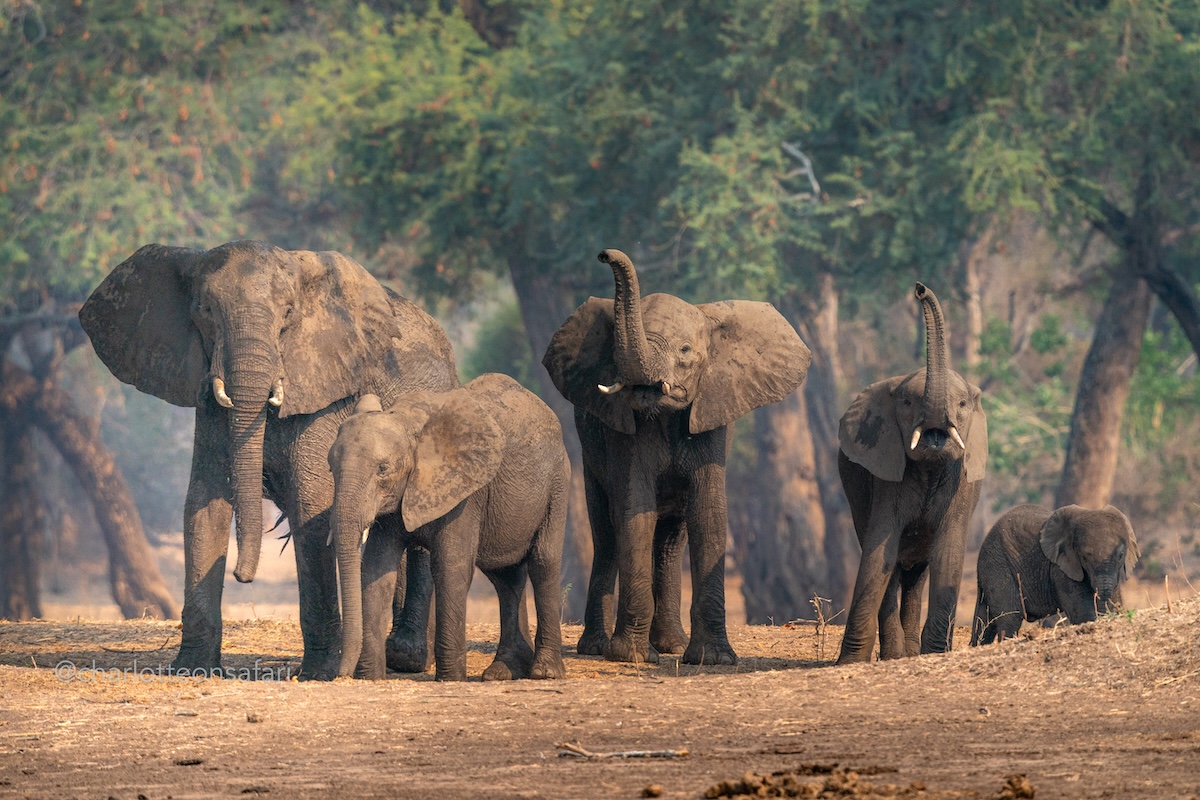
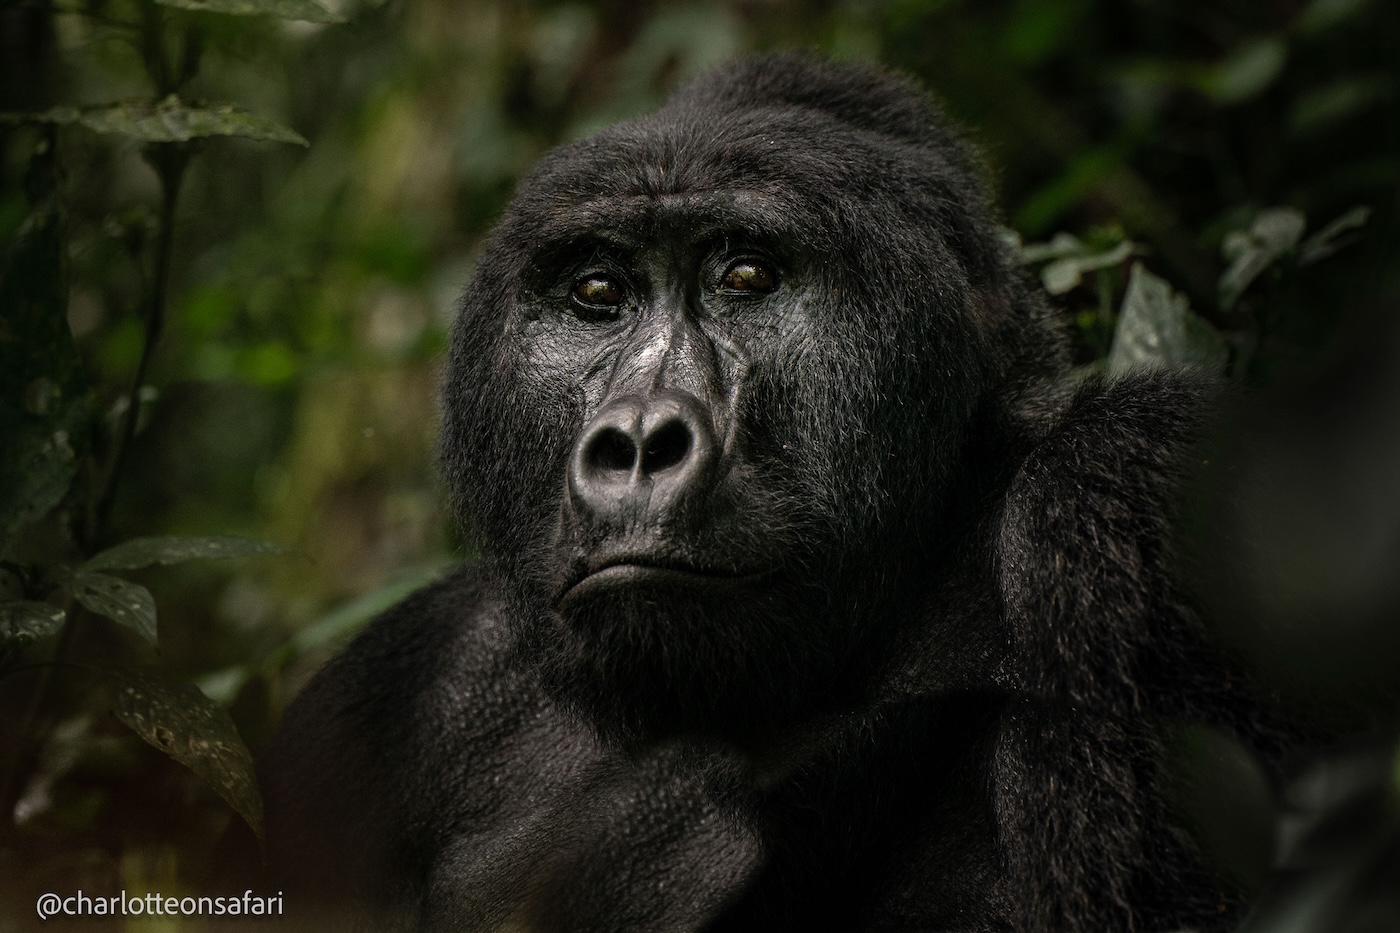
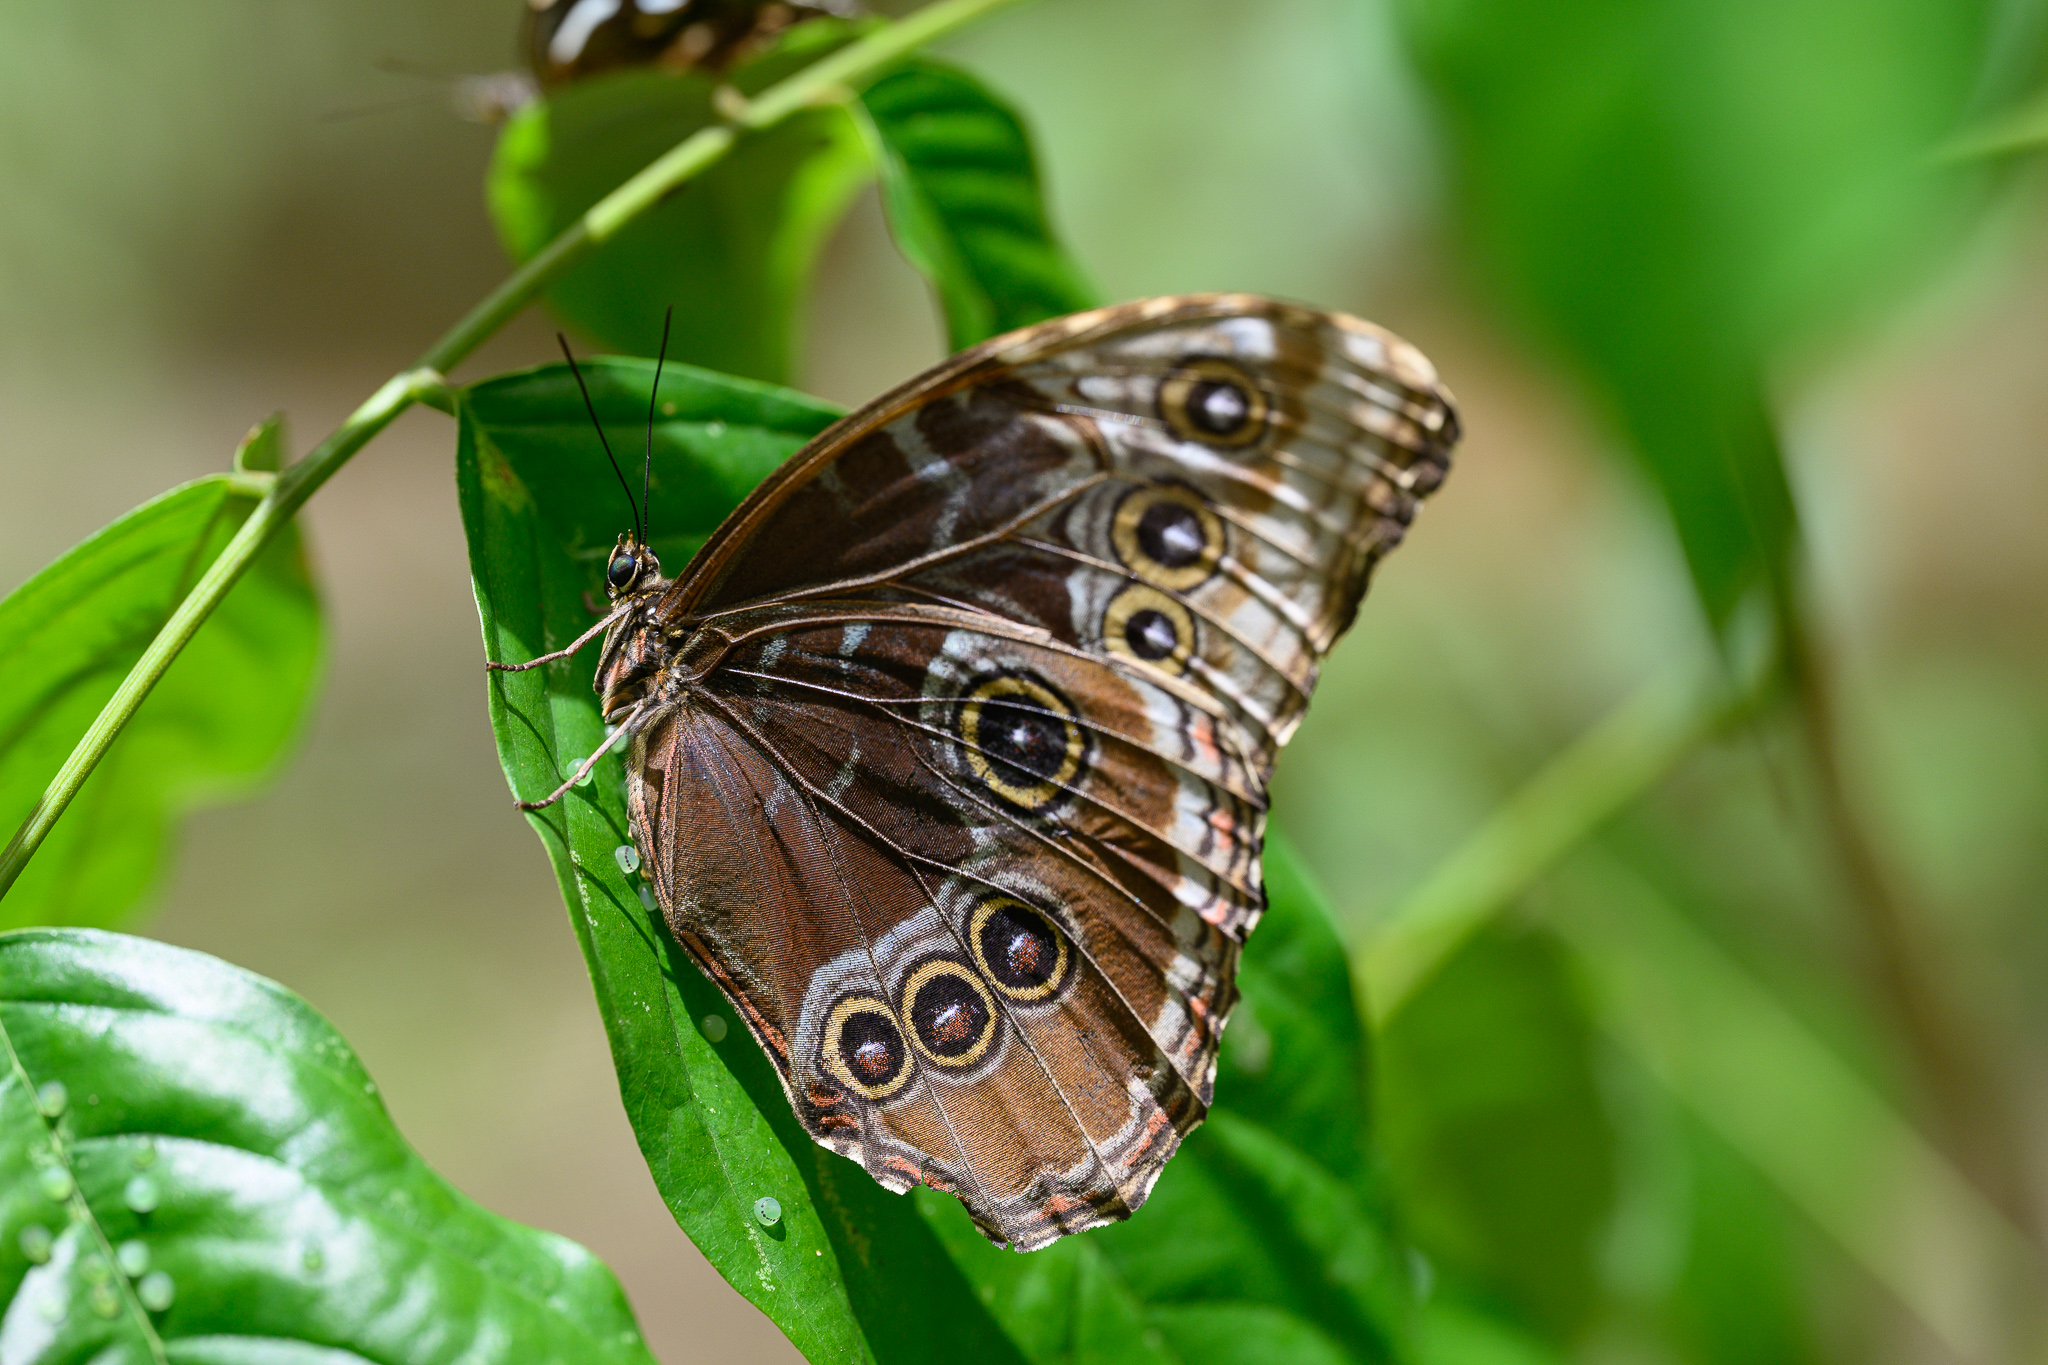
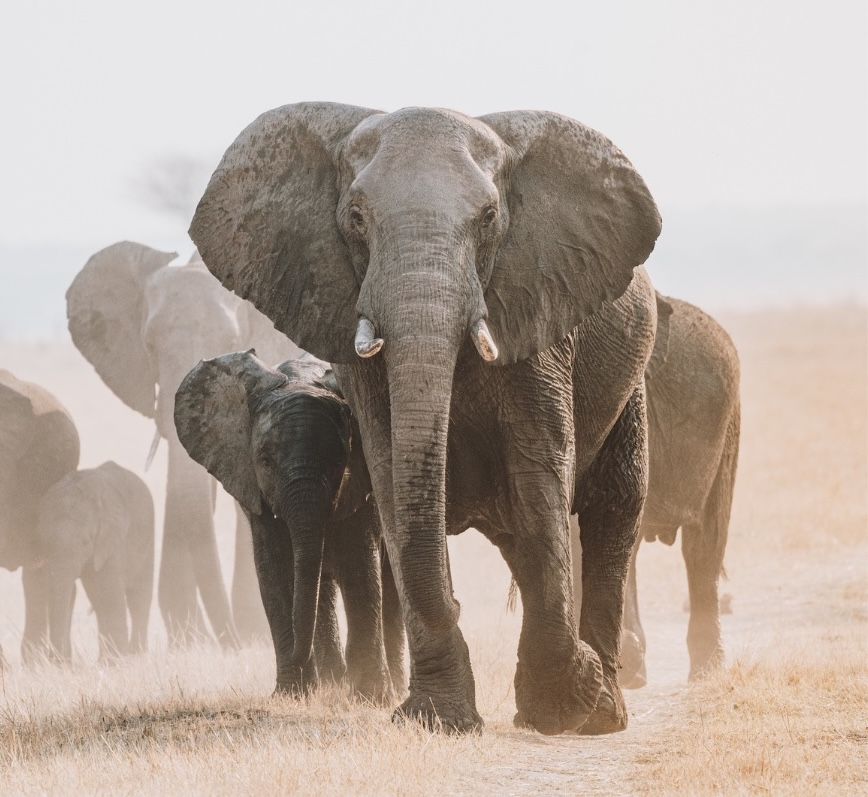
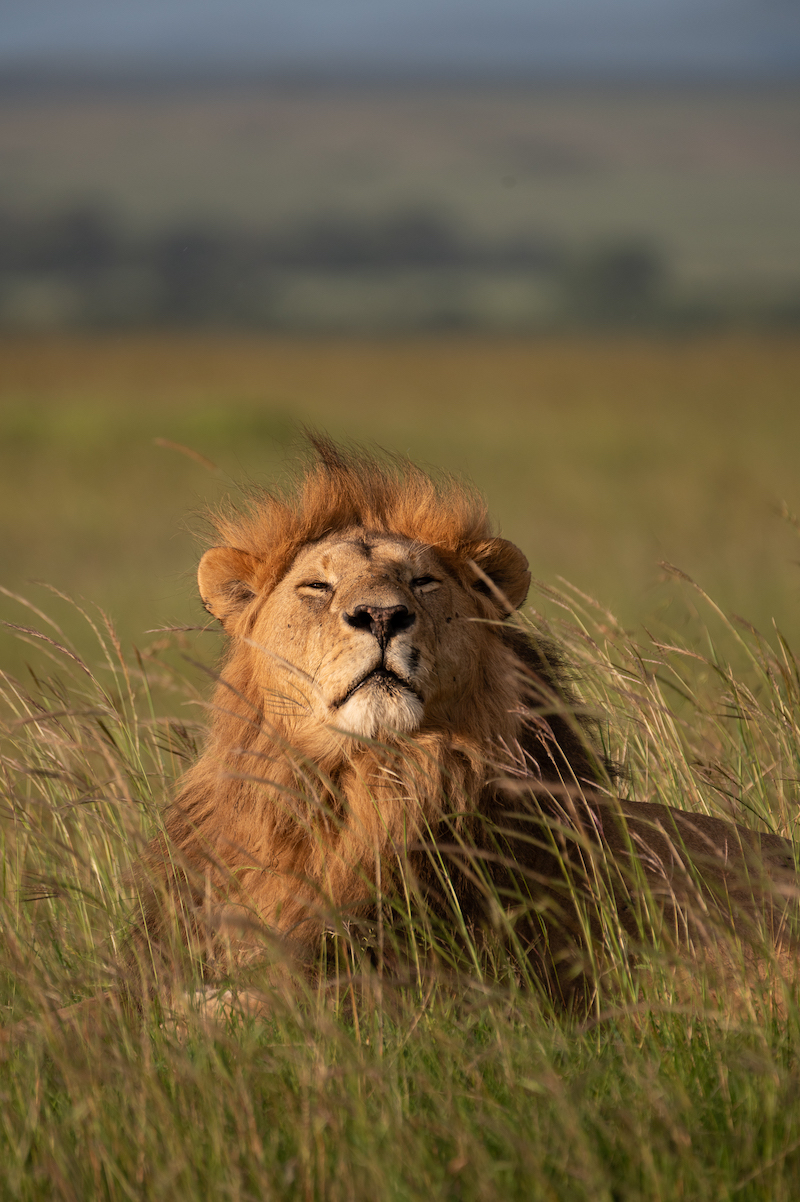
– Closer isn’t always better. A lot of guides want to get you as close as possible, but sometimes staying back 10–20 feet and using a zoom gives you better compression, a blurrier background/subject isolation, and a stronger eye level angle.
– Don’t underestimate post-processing. Most of the incredible wildlife shots you see out there have been significantly polished in post with selective sharpening, background blur, lifting shadows, and color corrections. It’s not cheating. It’s part of the craft.
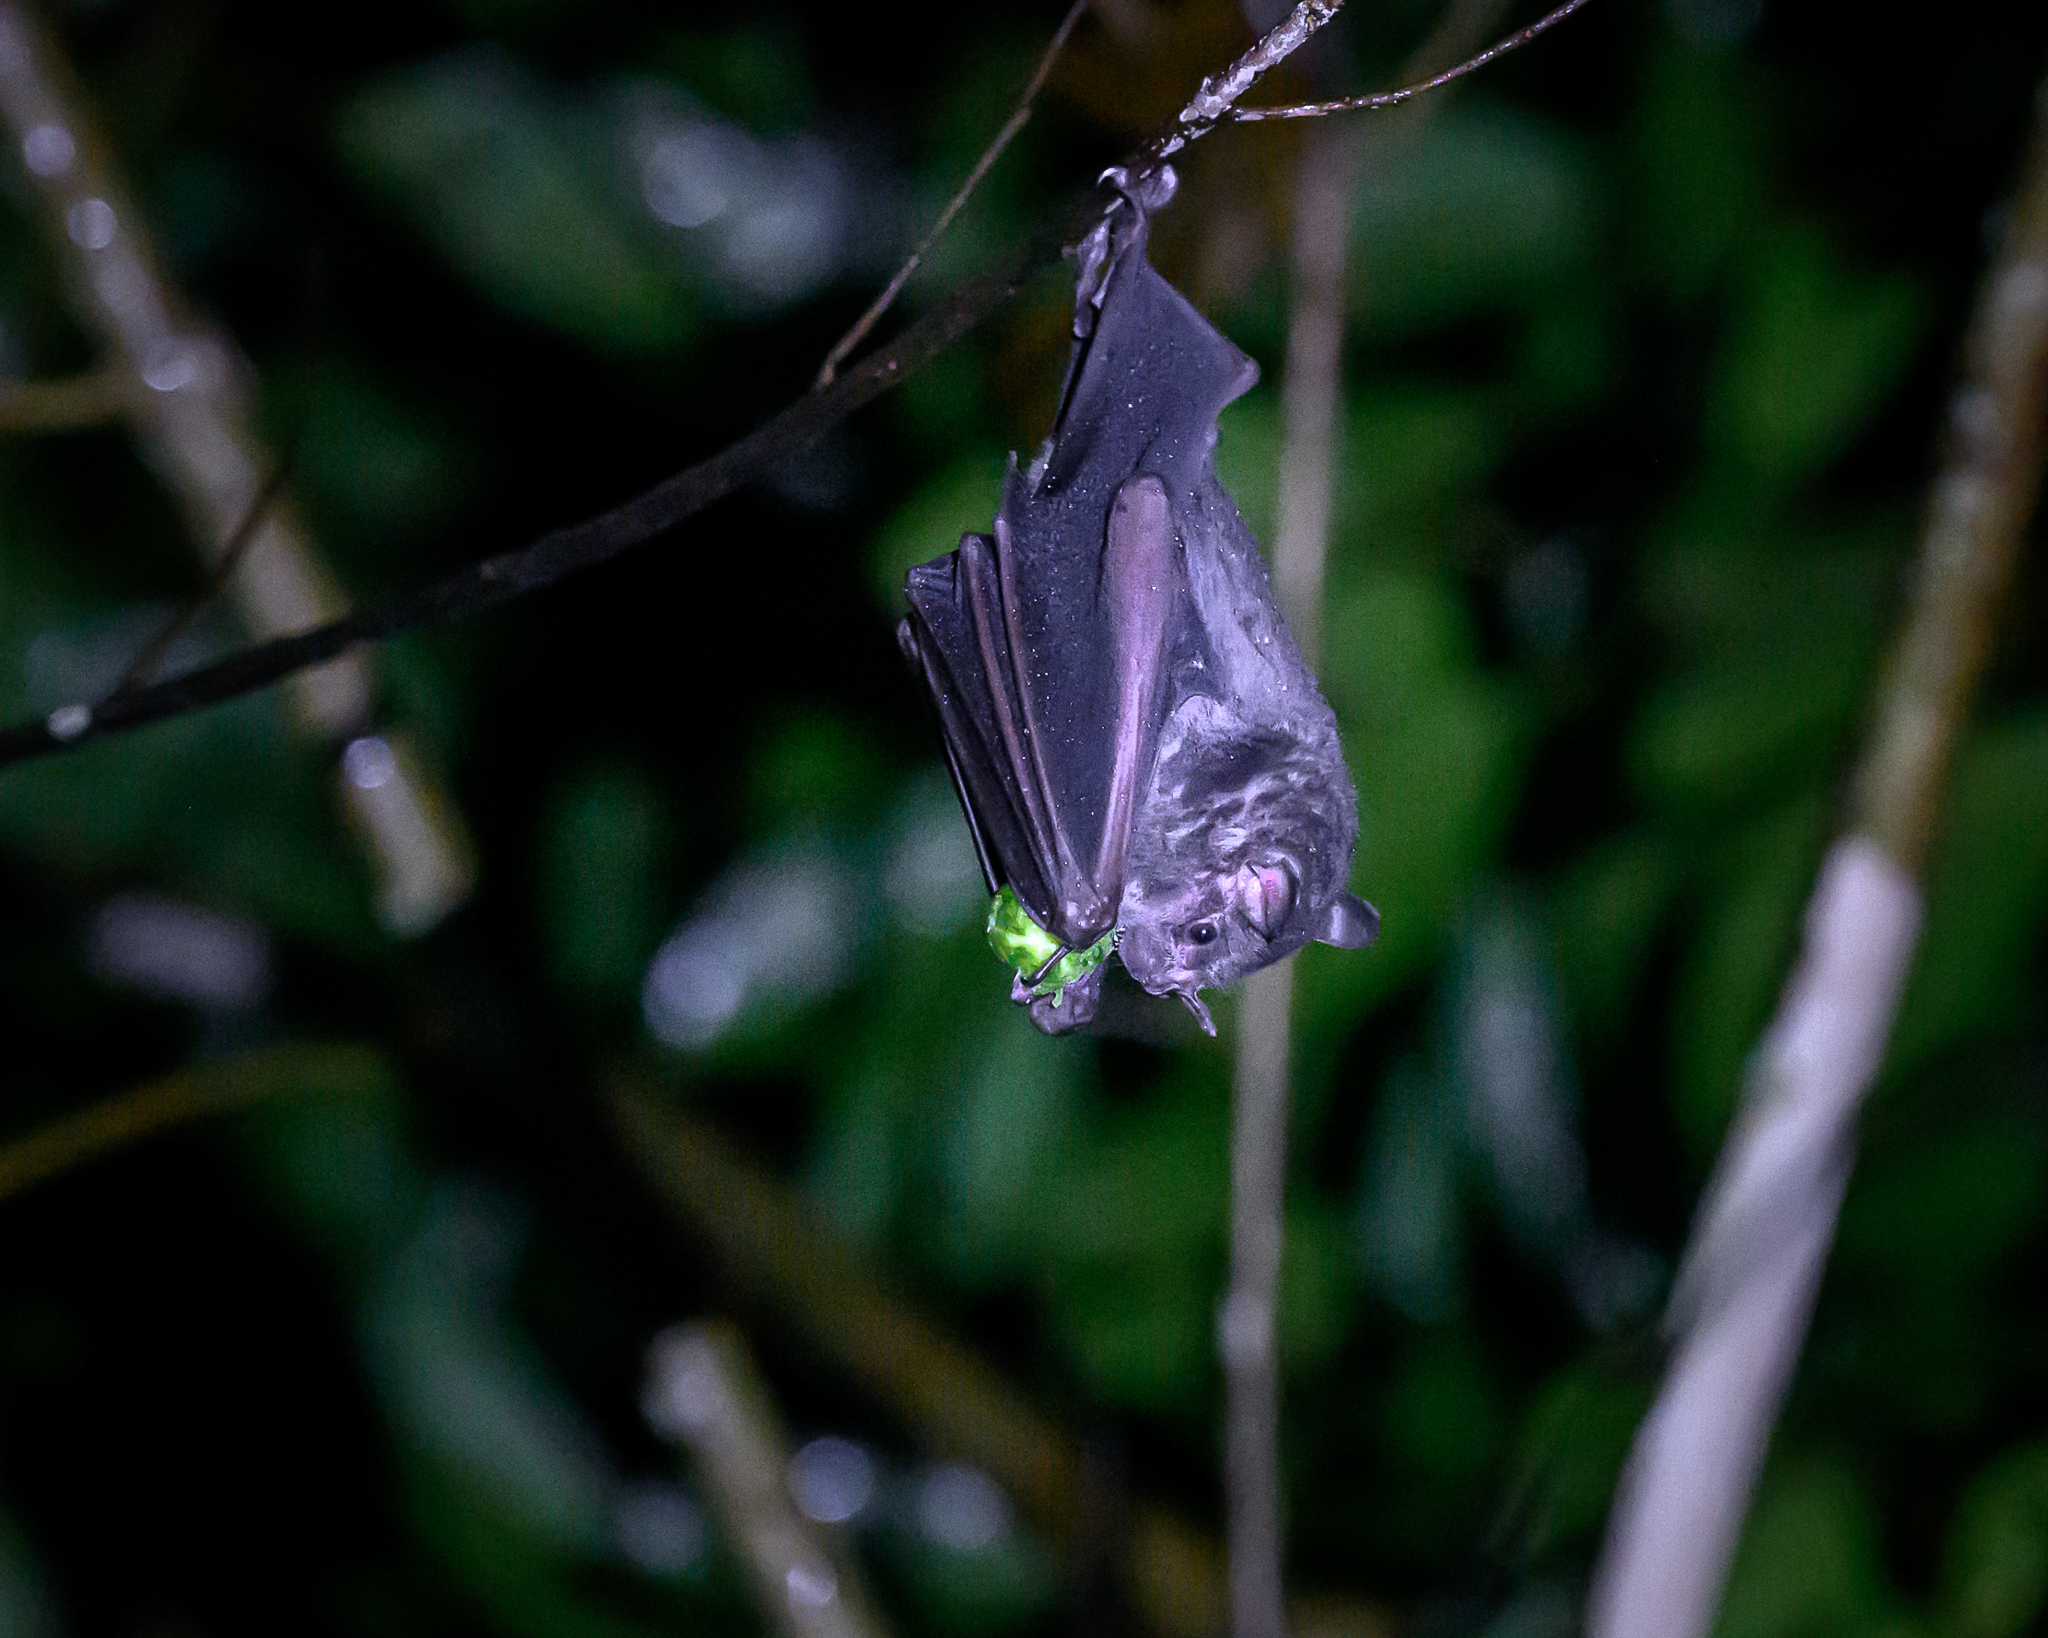
– Don’t give up in low light, get creative. Low light is where many beginners get frustrated or put away their cameras. It’s true that there are real limitations with what our cameras can do in low light, but it’s a great time to experiment. If your subject is still, try shooting at 1/20 to 1/60 sec, especially if your camera is stabilized on something (not handheld!). Most shots might be blurry, but if you take a burst of 10, one will often be sharp. You can also try panning with a moving subject for artistic motion blur. If you don’t know what that is, join us on a photographic trip!


