The Nature of Rainforest Light
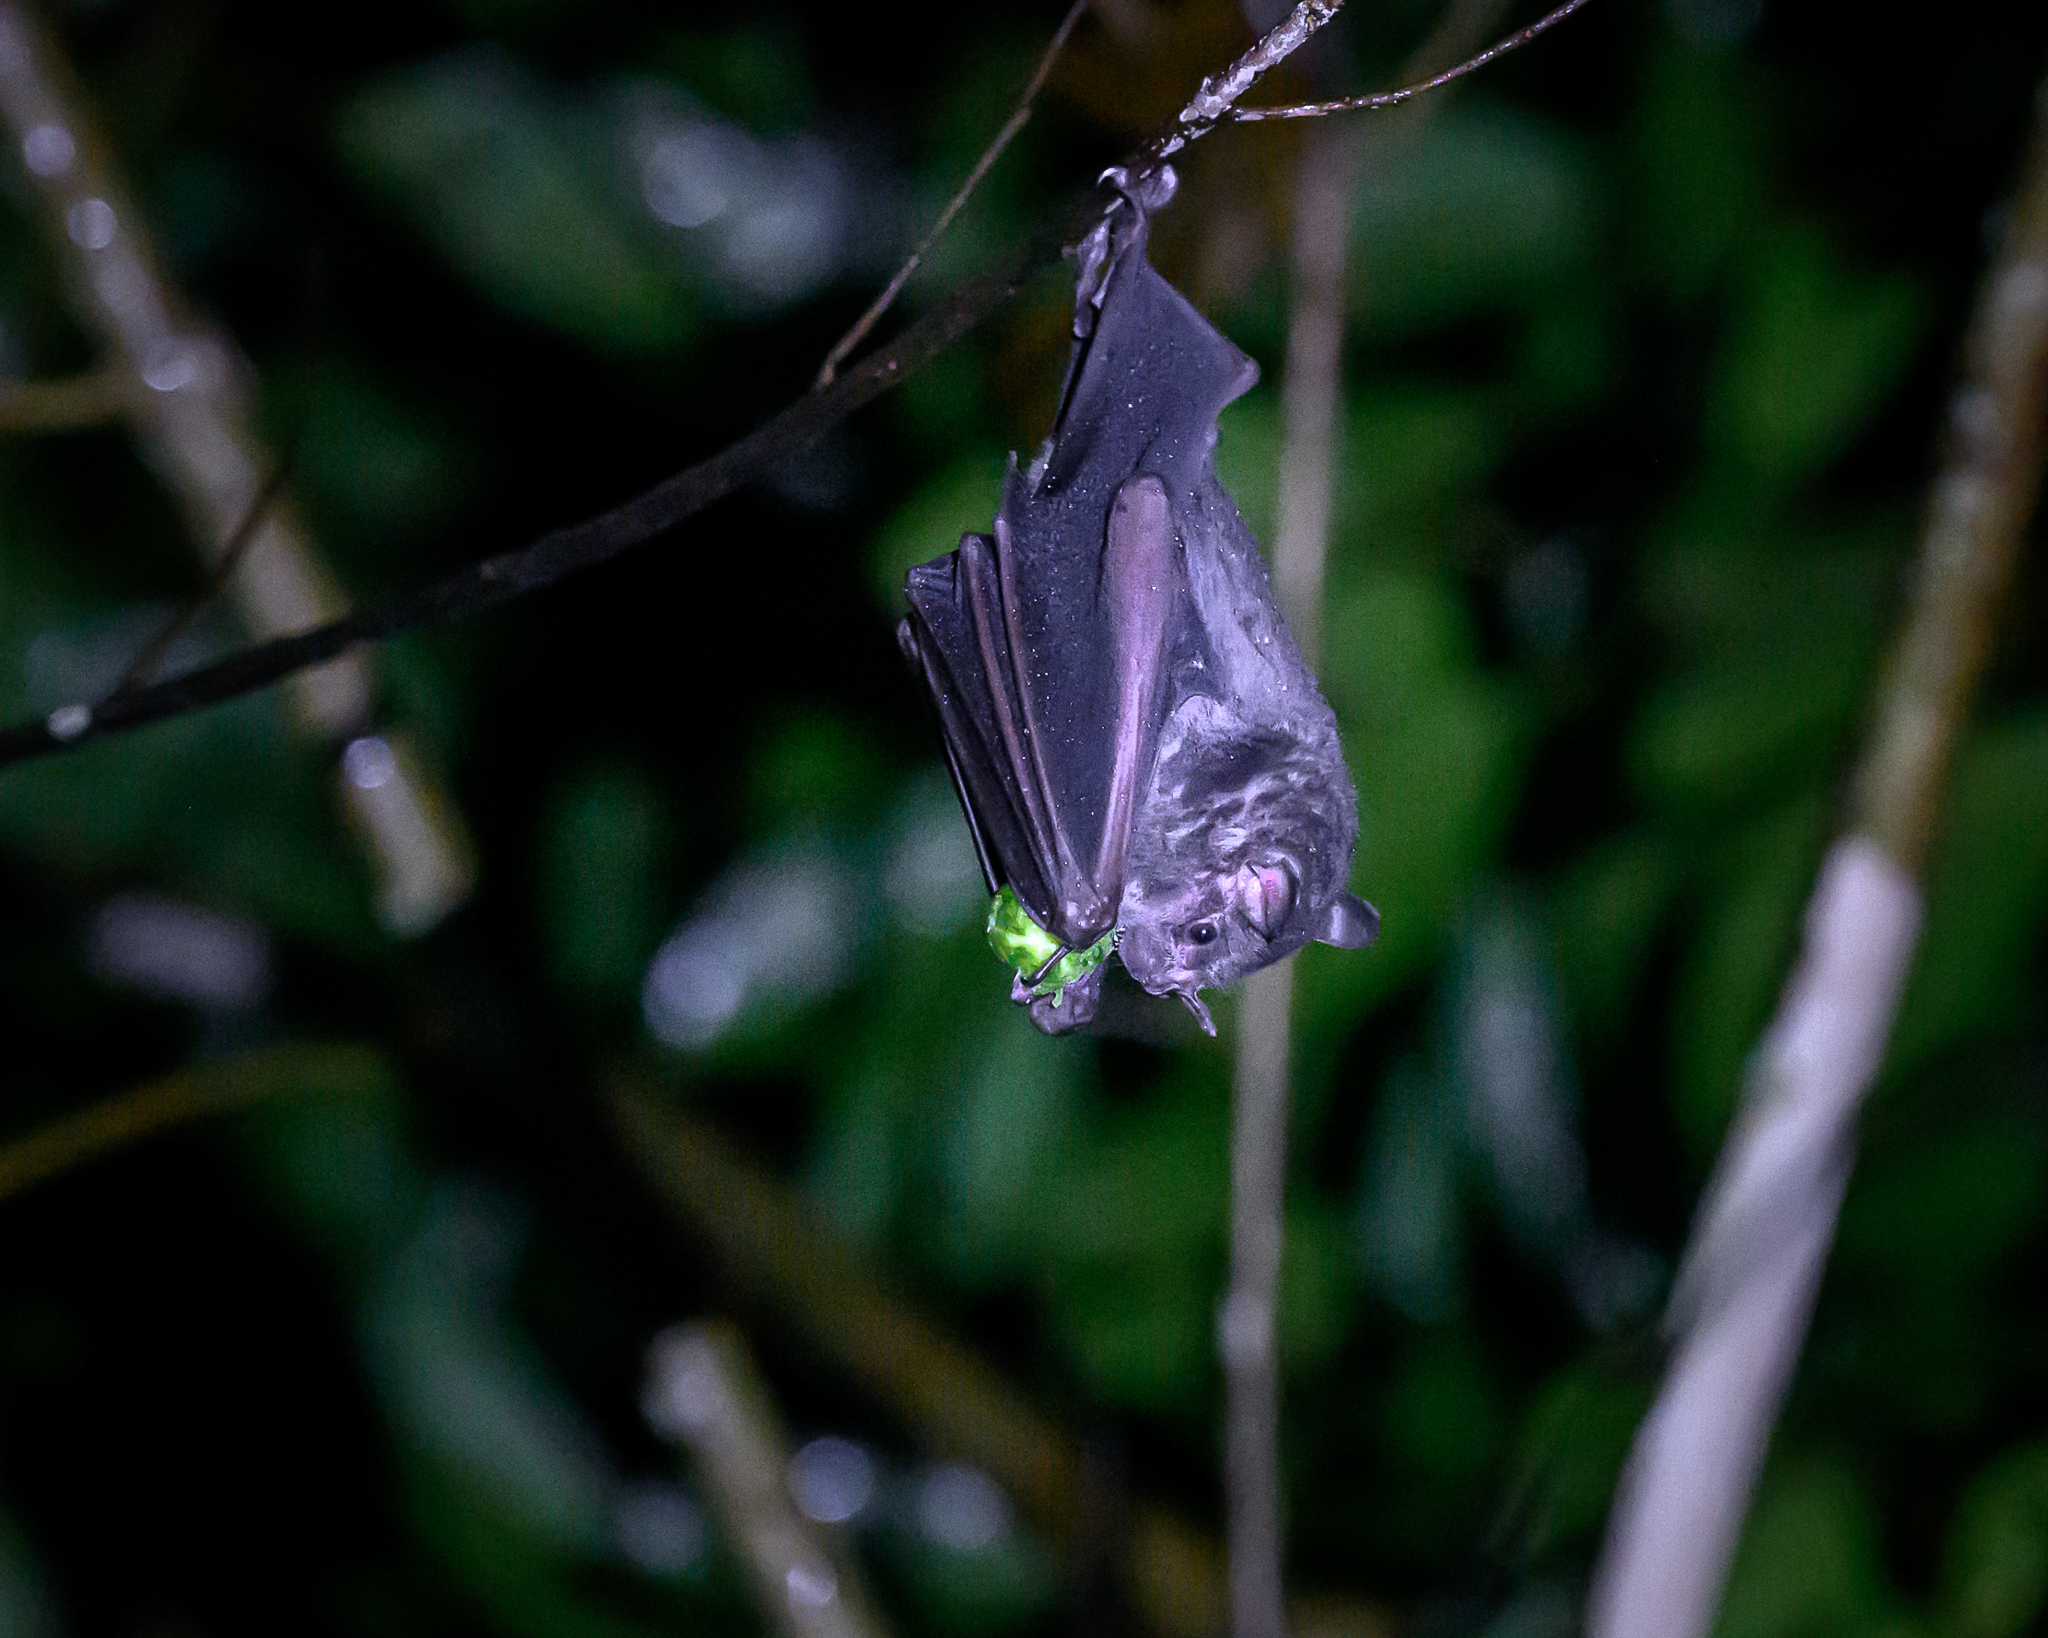
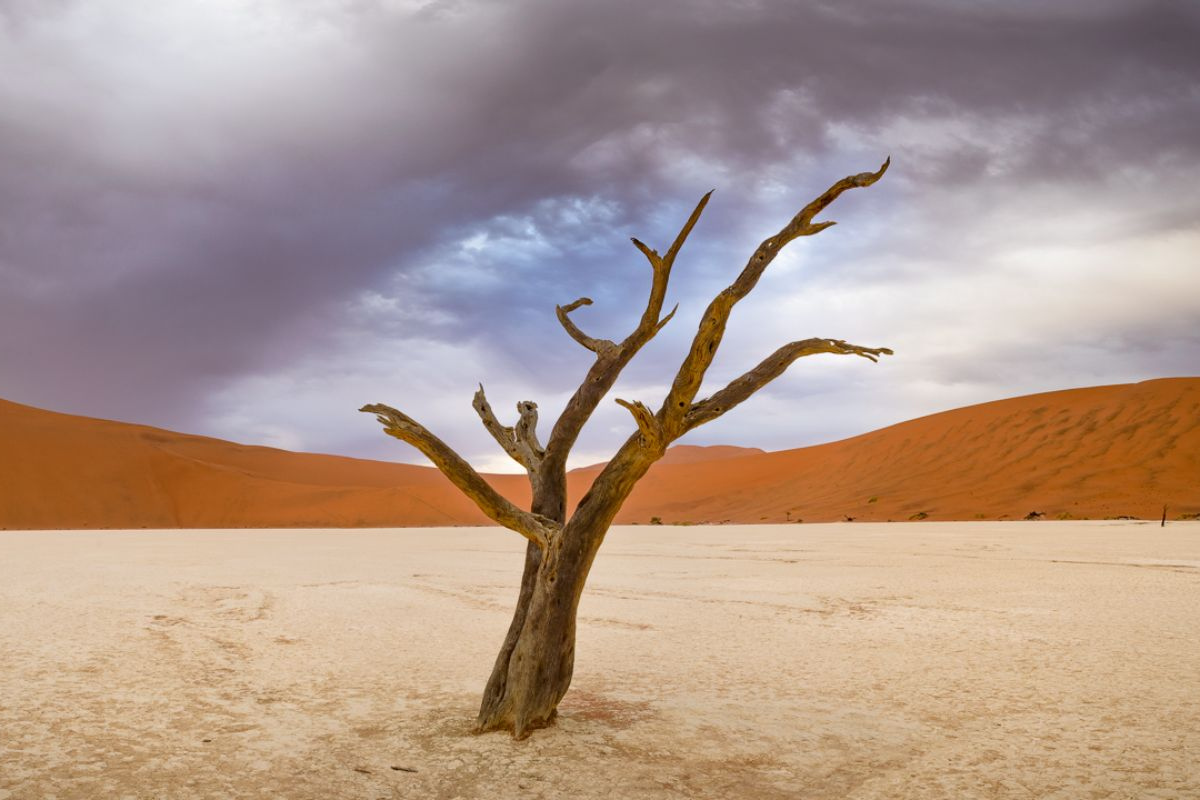
Light in the rainforest is not uniform. In many areas, the canopy filters direct sunlight into soft patches, while other regions — especially near rivers or in younger secondary forest — offer brighter, more variable conditions. Early morning and late afternoon, especially during the green season, tend to be the most productive times to shoot.
Expect:
- Constantly changing exposure levels: Light shifts rapidly as clouds move and foliage sways.
- High contrast between highlights and shadows: Particularly when sunlight breaks through.
- Cool, green-dominant color temperatures: Which may require correction in post or in-camera white balance settings.
- Learning to observe and respond to these shifts in real time is a key part of working in these environments.
Camera Settings and Exposure Strategies
Low-light rainforest photography pushes the limits of your camera’s dynamic range and noise handling. Here’s how to adapt:
1. ISO Management
Modern full-frame sensors handle ISO 1600–3200 well — and going higher is often worth the trade-off for a sharp, usable image. Don’t hesitate to push your ISO if the moment demands it.
2. Manual or Aperture Priority Mode
Both modes give you control over key variables. In unpredictable light, Manual with Auto ISO offers a balanced compromise.
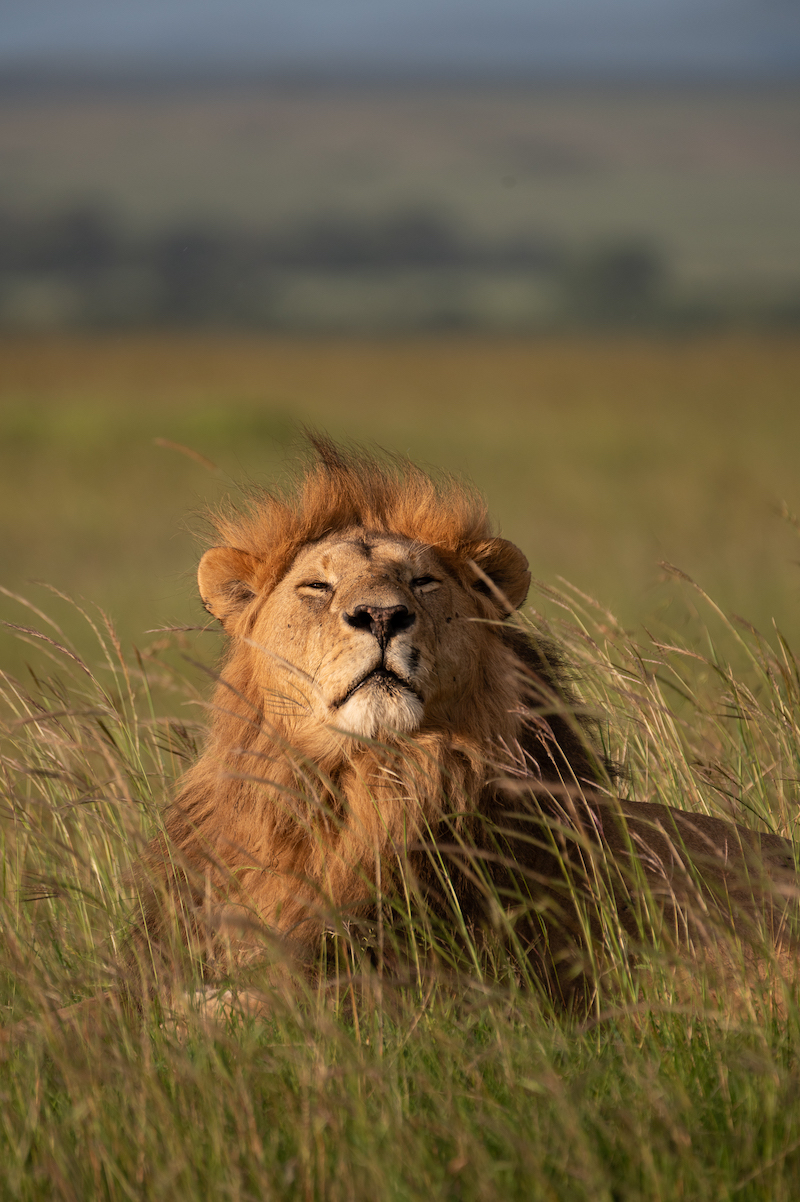
- Wildlife or handheld macro: Start at f/4–f/5.6, 1/500s or faster.
- Landscape or tripod setups: Narrow down to f/8–f/11 for depth, adjusting ISO accordingly.
3. Shutter Speed Considerations
In shaded conditions, slower shutter speeds are tempting, but movement — whether from wind, subjects, or the photographer — often leads to softness. Use in-body or lens stabilization to extend handheld shooting, but always test sharpness in-camera.
4. Metering
Use spot or center-weighted metering to avoid misleading readings from bright background patches. Review your histogram often — especially the shadows.